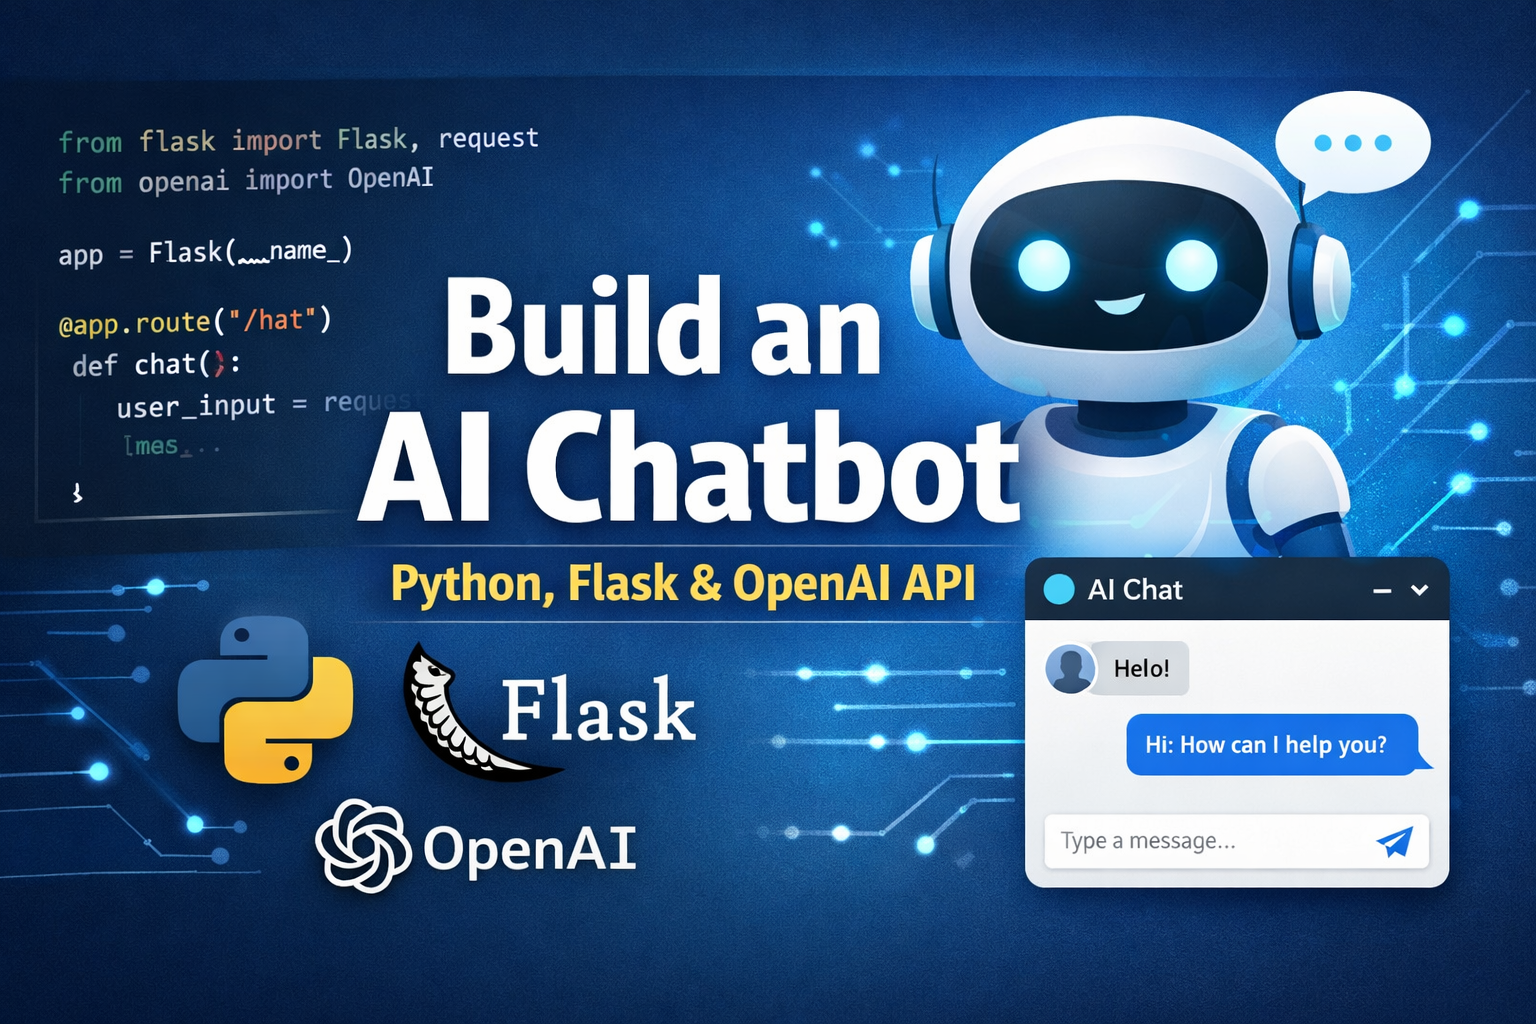
Introduction
In this tutorial, you will learn how to build an AI chatbot with Python Flask — one of the most practical beginner projects you can take on in 2026. Thanks to the OpenAI API, you no longer need a machine learning background. You just need Python, Flask, and an API key, and you can have a fully working chatbot running in your browser in under an hour.
Chatbots are everywhere today — customer support, personal assistants, coding helpers, and study tools. This guide walks you through the complete build from scratch using:
- Python — the programming language
- Flask — a lightweight web framework to serve the chatbot
- OpenAI API — the GPT model that powers the responses
- HTML + JavaScript — a simple chat interface in the browser
By the end, you will have a Python Flask AI chatbot that remembers the full conversation history and responds intelligently to anything you type.
How the Python Flask AI Chatbot Works
Before writing any code, understand the full flow. Every step that follows will make more sense once you see the big picture:
- The user types a message in the browser and clicks Send
- JavaScript sends the message to the Flask backend via a POST request
- Flask appends the message to conversation history and calls the OpenAI API
- OpenAI returns a GPT response, which Flask sends back to the browser
- JavaScript displays the reply in the chat window
The critical concept is conversation history. The OpenAI API has no memory between calls — you must send the entire conversation every time. This is what makes your build ai chatbot python flask project feel like it genuinely understands context.
Prerequisites
Make sure you have the following before starting:
- Python 3.8+ — download from python.org
- pip — comes bundled with Python
- An OpenAI account — sign up at platform.openai.com
- Basic familiarity with Python and HTML
💡 The full reference for all API parameters is in the official OpenAI API documentation. Worth bookmarking.
Step 1 — Project Setup
Create a project folder and set up a virtual environment. This keeps your Flask chatbot dependencies cleanly isolated from other Python projects:
mkdir flask-chatbot
cd flask-chatbot
python -m venv venv

# Activate on macOS/Linux
source venv/bin/activate

# Activate on Windows
venv\Scripts\activate
Install the required packages:
pip install flask openai python-dotenv
Your project structure should look like this:
flask-chatbot/
├── templates/
│   └── index.html
├── .env
└── app.py
Step 2 — Get Your OpenAI API Key
- Visit platform.openai.com/api-keys
- Click Create new secret key
- Copy the key immediately — you will only see it once
Add it to a .env file in your project root. Never hardcode API keys in source code:
OPENAI_API_KEY=sk-your-api-key-here
Step 3 — Build the Flask App
This is the core of your Python Flask AI chatbot. Create app.py:
import os
from flask import Flask, render_template, request, jsonify
from openai import OpenAI
from dotenv import load_dotenv

load_dotenv()

app = Flask(__name__)
client = OpenAI(api_key=os.getenv("OPENAI_API_KEY"))

conversation_history = []

@app.route("/")
def index():
    return render_template("index.html")

@app.route("/chat", methods=["POST"])
def chat():
    user_message = request.json.get("message")

    if not user_message:
        return jsonify({"error": "No message provided"}), 400

    conversation_history.append({"role": "user", "content": user_message})

    response = client.chat.completions.create(
        model="gpt-3.5-turbo",
        messages=[
            {"role": "system", "content": "You are a helpful assistant."},
            *conversation_history
        ],
        temperature=0.7,
        max_tokens=500
    )

    bot_reply = response.choices[0].message.content
    conversation_history.append({"role": "assistant", "content": bot_reply})

    return jsonify({"reply": bot_reply})

if __name__ == "__main__":
    app.run(debug=True)
Step 4 — Add Conversation Memory
The conversation_history list is the heart of your chatbot. Every user message gets appended to it. Every bot reply gets appended too. The full list is sent to OpenAI on every request — that is how context is maintained across turns.
This is what makes your Python Flask chatbot feel smart. It can answer “what did I just ask?” or “tell me more about that” because it has seen the whole conversation.
For longer sessions, the history grows large and drives up API costs. Add a trim to keep only the last 20 messages:
# Add this just before the API call inside /chat
if len(conversation_history) > 20:
    conversation_history.pop(0)
Step 5 — Build the Chat UI
Create templates/index.html — this is the browser interface your users will interact with:
<!DOCTYPE html>
<html lang="en">
<head>
  <meta charset="UTF-8" />
  <title>AI Chatbot</title>
  <style>
    * { box-sizing: border-box; margin: 0; padding: 0; }
    body { font-family: sans-serif; background: #f0f0f0;
           display: flex; justify-content: center; align-items: center; height: 100vh; }
    .chat-container { background: white; width: 420px; border-radius: 10px;
                      box-shadow: 0 4px 20px rgba(0,0,0,0.1); overflow: hidden; }
    .chat-header { background: #0ea5e9; color: white; padding: 16px 20px; font-weight: bold; }
    .chat-box { height: 360px; overflow-y: auto; padding: 16px;
                display: flex; flex-direction: column; gap: 10px; }
    .message { max-width: 80%; padding: 10px 14px; border-radius: 16px; font-size: 0.9rem; }
    .user { background: #0ea5e9; color: white; align-self: flex-end; }
    .bot  { background: #f1f5f9; color: #1e293b; align-self: flex-start; }
    .chat-input { display: flex; border-top: 1px solid #e2e8f0; }
    .chat-input input { flex: 1; padding: 14px; border: none; outline: none; }
    .chat-input button { padding: 14px 20px; background: #0ea5e9;
                         color: white; border: none; cursor: pointer; }
  </style>
</head>
<body>
  <div class="chat-container">
    <div class="chat-header">🤖 AI Chatbot</div>
    <div class="chat-box" id="chatBox"></div>
    <div class="chat-input">
      <input type="text" id="userInput" placeholder="Type a message..." />
      <button onclick="sendMessage()">Send</button>
    </div>
  </div>
  <script>
    const chatBox = document.getElementById("chatBox");
    const userInput = document.getElementById("userInput");

    function addMessage(text, sender) {
      const msg = document.createElement("div");
      msg.className = "message " + sender;
      msg.textContent = text;
      chatBox.appendChild(msg);
      chatBox.scrollTop = chatBox.scrollHeight;
    }

    async function sendMessage() {
      const message = userInput.value.trim();
      if (!message) return;
      addMessage(message, "user");
      userInput.value = "";
      addMessage("Thinking...", "bot");
      const res = await fetch("/chat", {
        method: "POST",
        headers: { "Content-Type": "application/json" },
        body: JSON.stringify({ message }),
      });
      const data = await res.json();
      chatBox.lastChild.remove();
      addMessage(data.reply, "bot");
    }

    userInput.addEventListener("keypress", (e) => {
      if (e.key === "Enter") sendMessage();
    });
  </script>
</body>
</html>
Step 6 — Run and Test the Chatbot
Start the Flask development server:
python app.py
Open http://127.0.0.1:5000 in your browser. Type a message and hit Enter — your Python Flask AI chatbot will respond using GPT.
Test the memory by holding a multi-turn conversation:
You:  My name is Alex. I am learning Python.
Bot:  Nice to meet you, Alex! Python is a great language...

You:  What is my name?
Bot:  Your name is Alex, as you mentioned earlier.
Step 7 — Customise the Bot Personality
The system prompt is one of the most powerful levers when you build an AI chatbot with Python Flask. It controls tone, role, and scope. Swap it out in app.py:
# Customer support bot
{"role": "system", "content": "You are a friendly support agent. Only answer product questions. Redirect off-topic requests politely."}

# Coding tutor
{"role": "system", "content": "You are a patient coding tutor. Always include a short code example in your explanations."}

# Sarcastic assistant
{"role": "system", "content": "You are sarcastic but helpful. Answer correctly, with dry humour."}
Final Thoughts
You have built a fully working AI chatbot with Python Flask, conversation memory, a clean UI, and a customisable personality. Here is a quick recap of what was covered:
- Setting up Flask with a virtual environment
- Calling the OpenAI API securely using environment variables
- Maintaining conversation history for context-aware responses
- Trimming history to manage token costs
- Building a browser chat UI with HTML and JavaScript
- Customising bot behaviour with system prompts
Ready to go further? Learn how to deploy your web app for free using Vercel, or secure your chatbot backend with our guide on JWT authentication in Node.js.
The hardest part of building an AI chatbot is deciding what it should do — the technical part takes less than an hour.
Leave a Reply